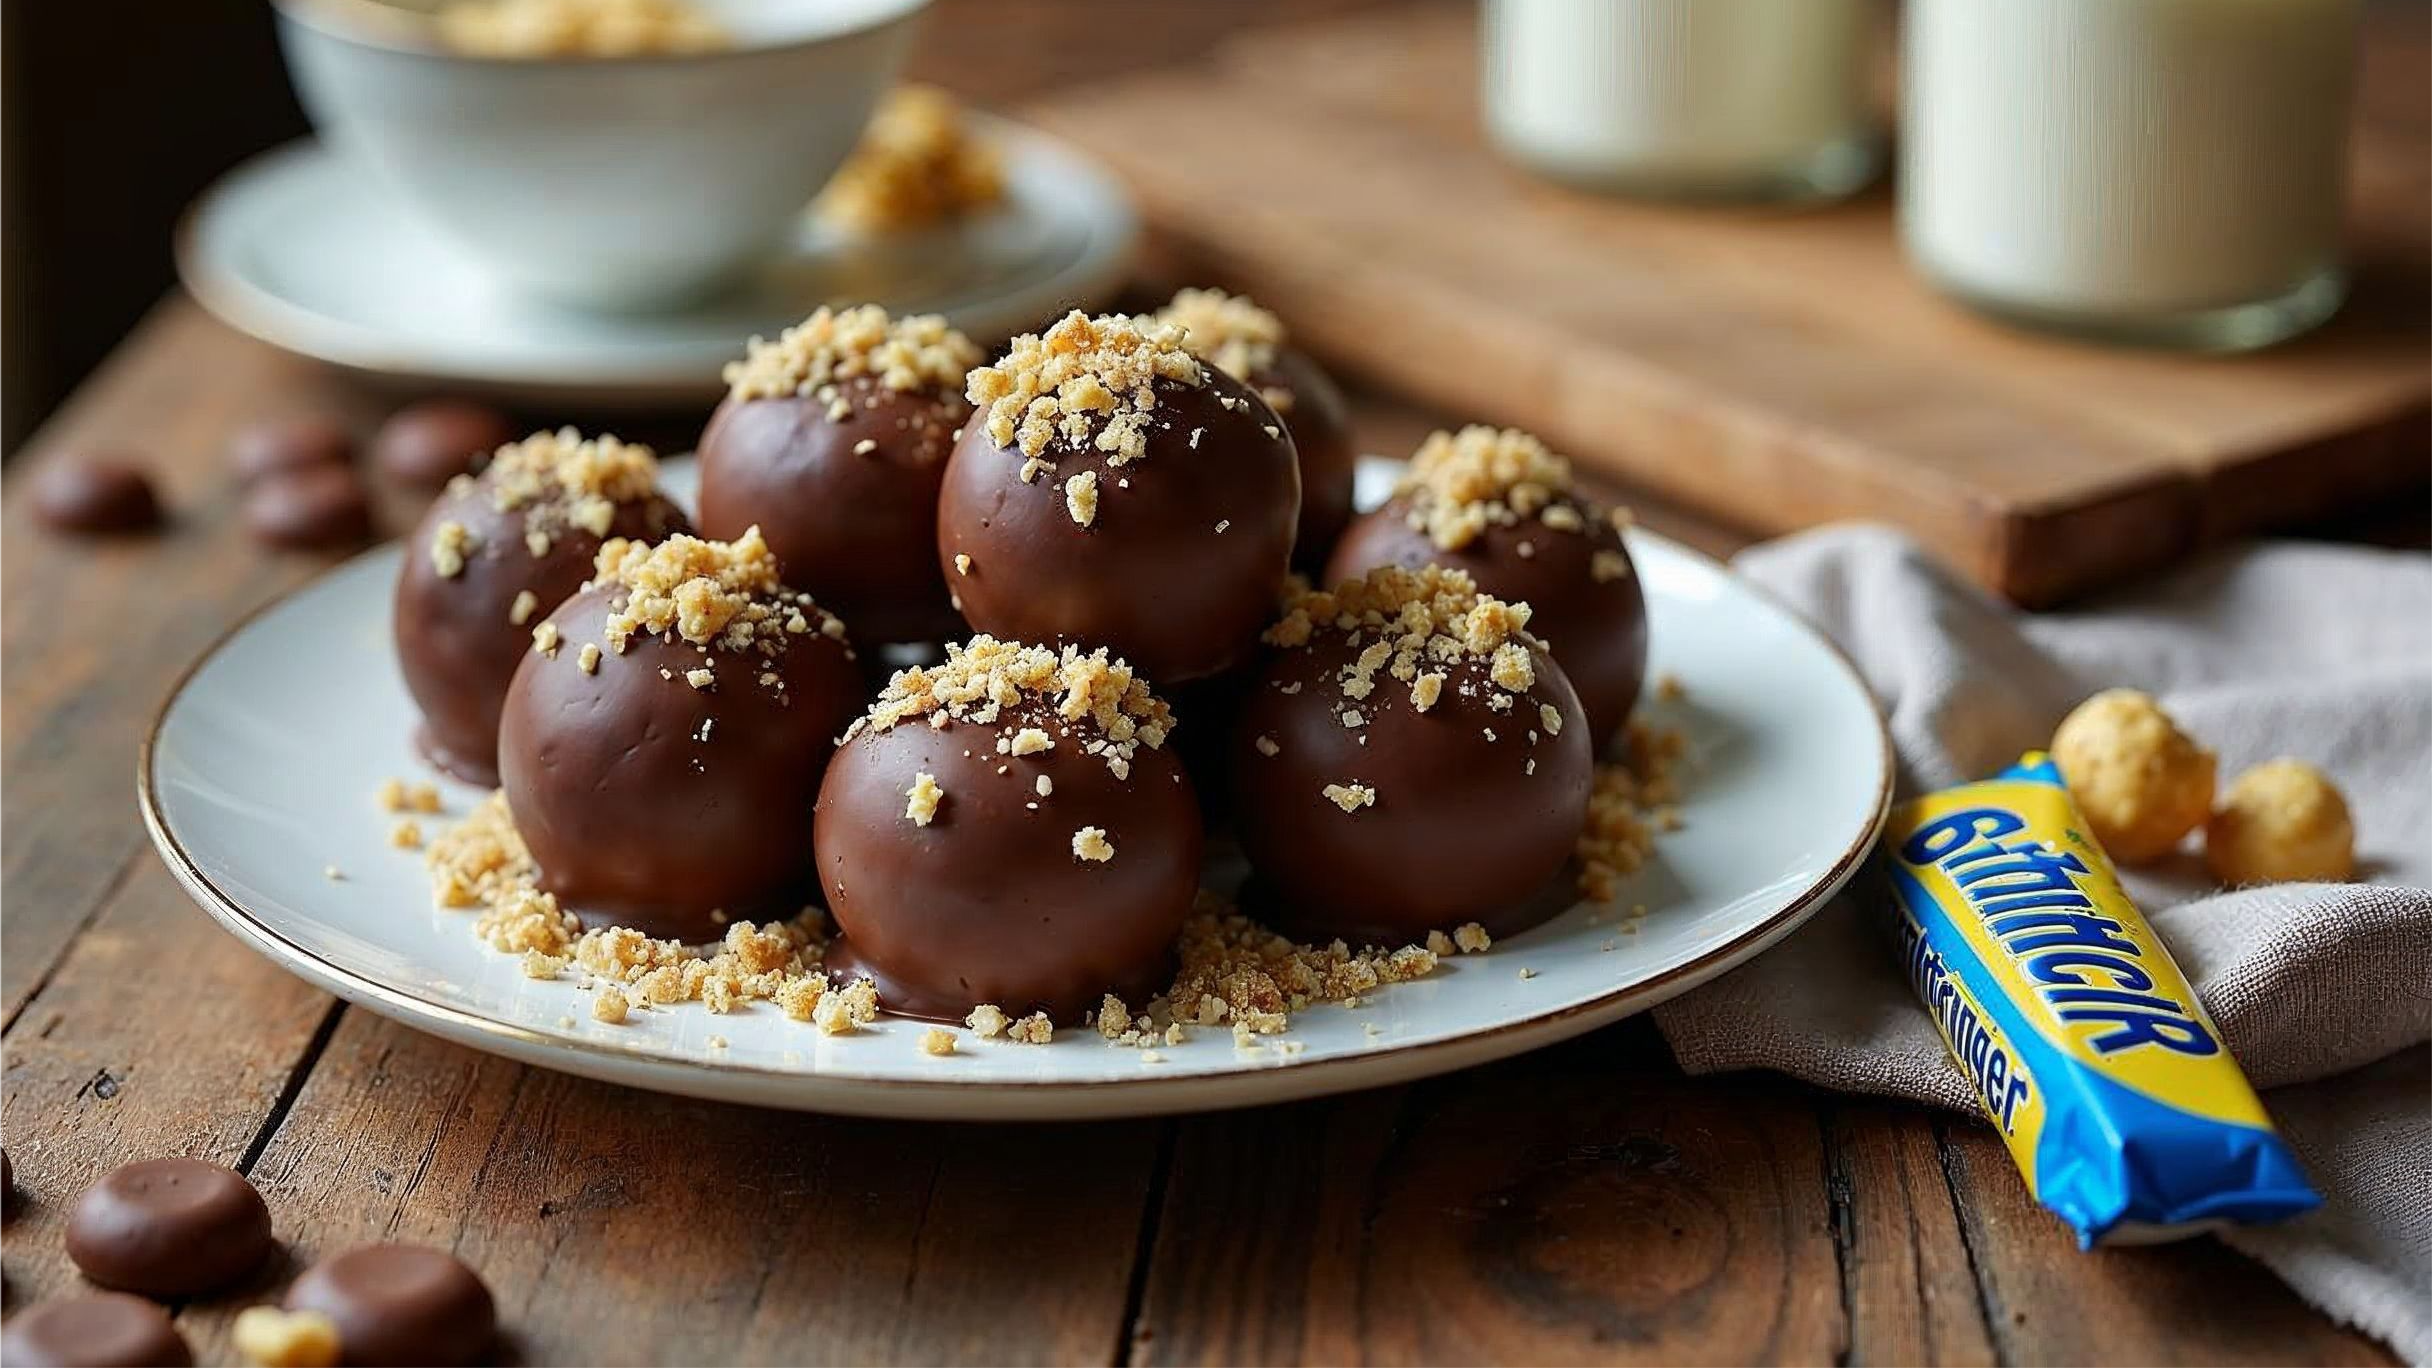
If you’re a fan of the irresistible combo of chocolate and peanut butter, you’re in for a treat. Butterfinger Balls are the ultimate no-bake dessert that’s quick, easy, and downright delicious. These bite-sized goodies are made with crushed Butterfinger candy bars, creamy peanut butter, and a smooth chocolate coating. They’re perfect for parties, gifts, or just satisfying your sweet tooth.
The best part? You don’t need to be a baking pro to make them. In fact, with just a few simple ingredients and minimal effort, you can whip up a batch of these crowd-pleasing treats in no time. Whether you’re a seasoned dessert maker or a newbie in the kitchen, Butterfinger Balls are a must-try. Additionally, their simplicity and deliciousness make them perfect for any occasion. So, why wait? Dive into this recipe and discover how easy it is to create something everyone will love.
Table of contents
What You’ll Learn in This Article
Here’s a sneak peek of what we’ll cover:
- Why Butterfinger Balls are a crowd-pleasing favorite (spoiler: they’re addictive!).
- The ingredients you’ll need—nothing fancy, I promise.
- A step-by-step guide to making perfect Butterfinger Balls every time.
- Tips and tricks to avoid common mistakes and level up your dessert game.
- Creative variations to keep things exciting, like white chocolate, pretzels, and more!
- Serving ideas that’ll make these treats the star of any occasion.
So, grab your Butterfinger bars, and let’s get rolling! Trust me, your taste buds will thank you. Plus, this recipe is so fun and easy, you’ll want to make it over and over again!
Why Butterfinger Balls Are a Crowd-Pleasing Favorite
The Perfect Combination of Chocolate and Peanut Butter
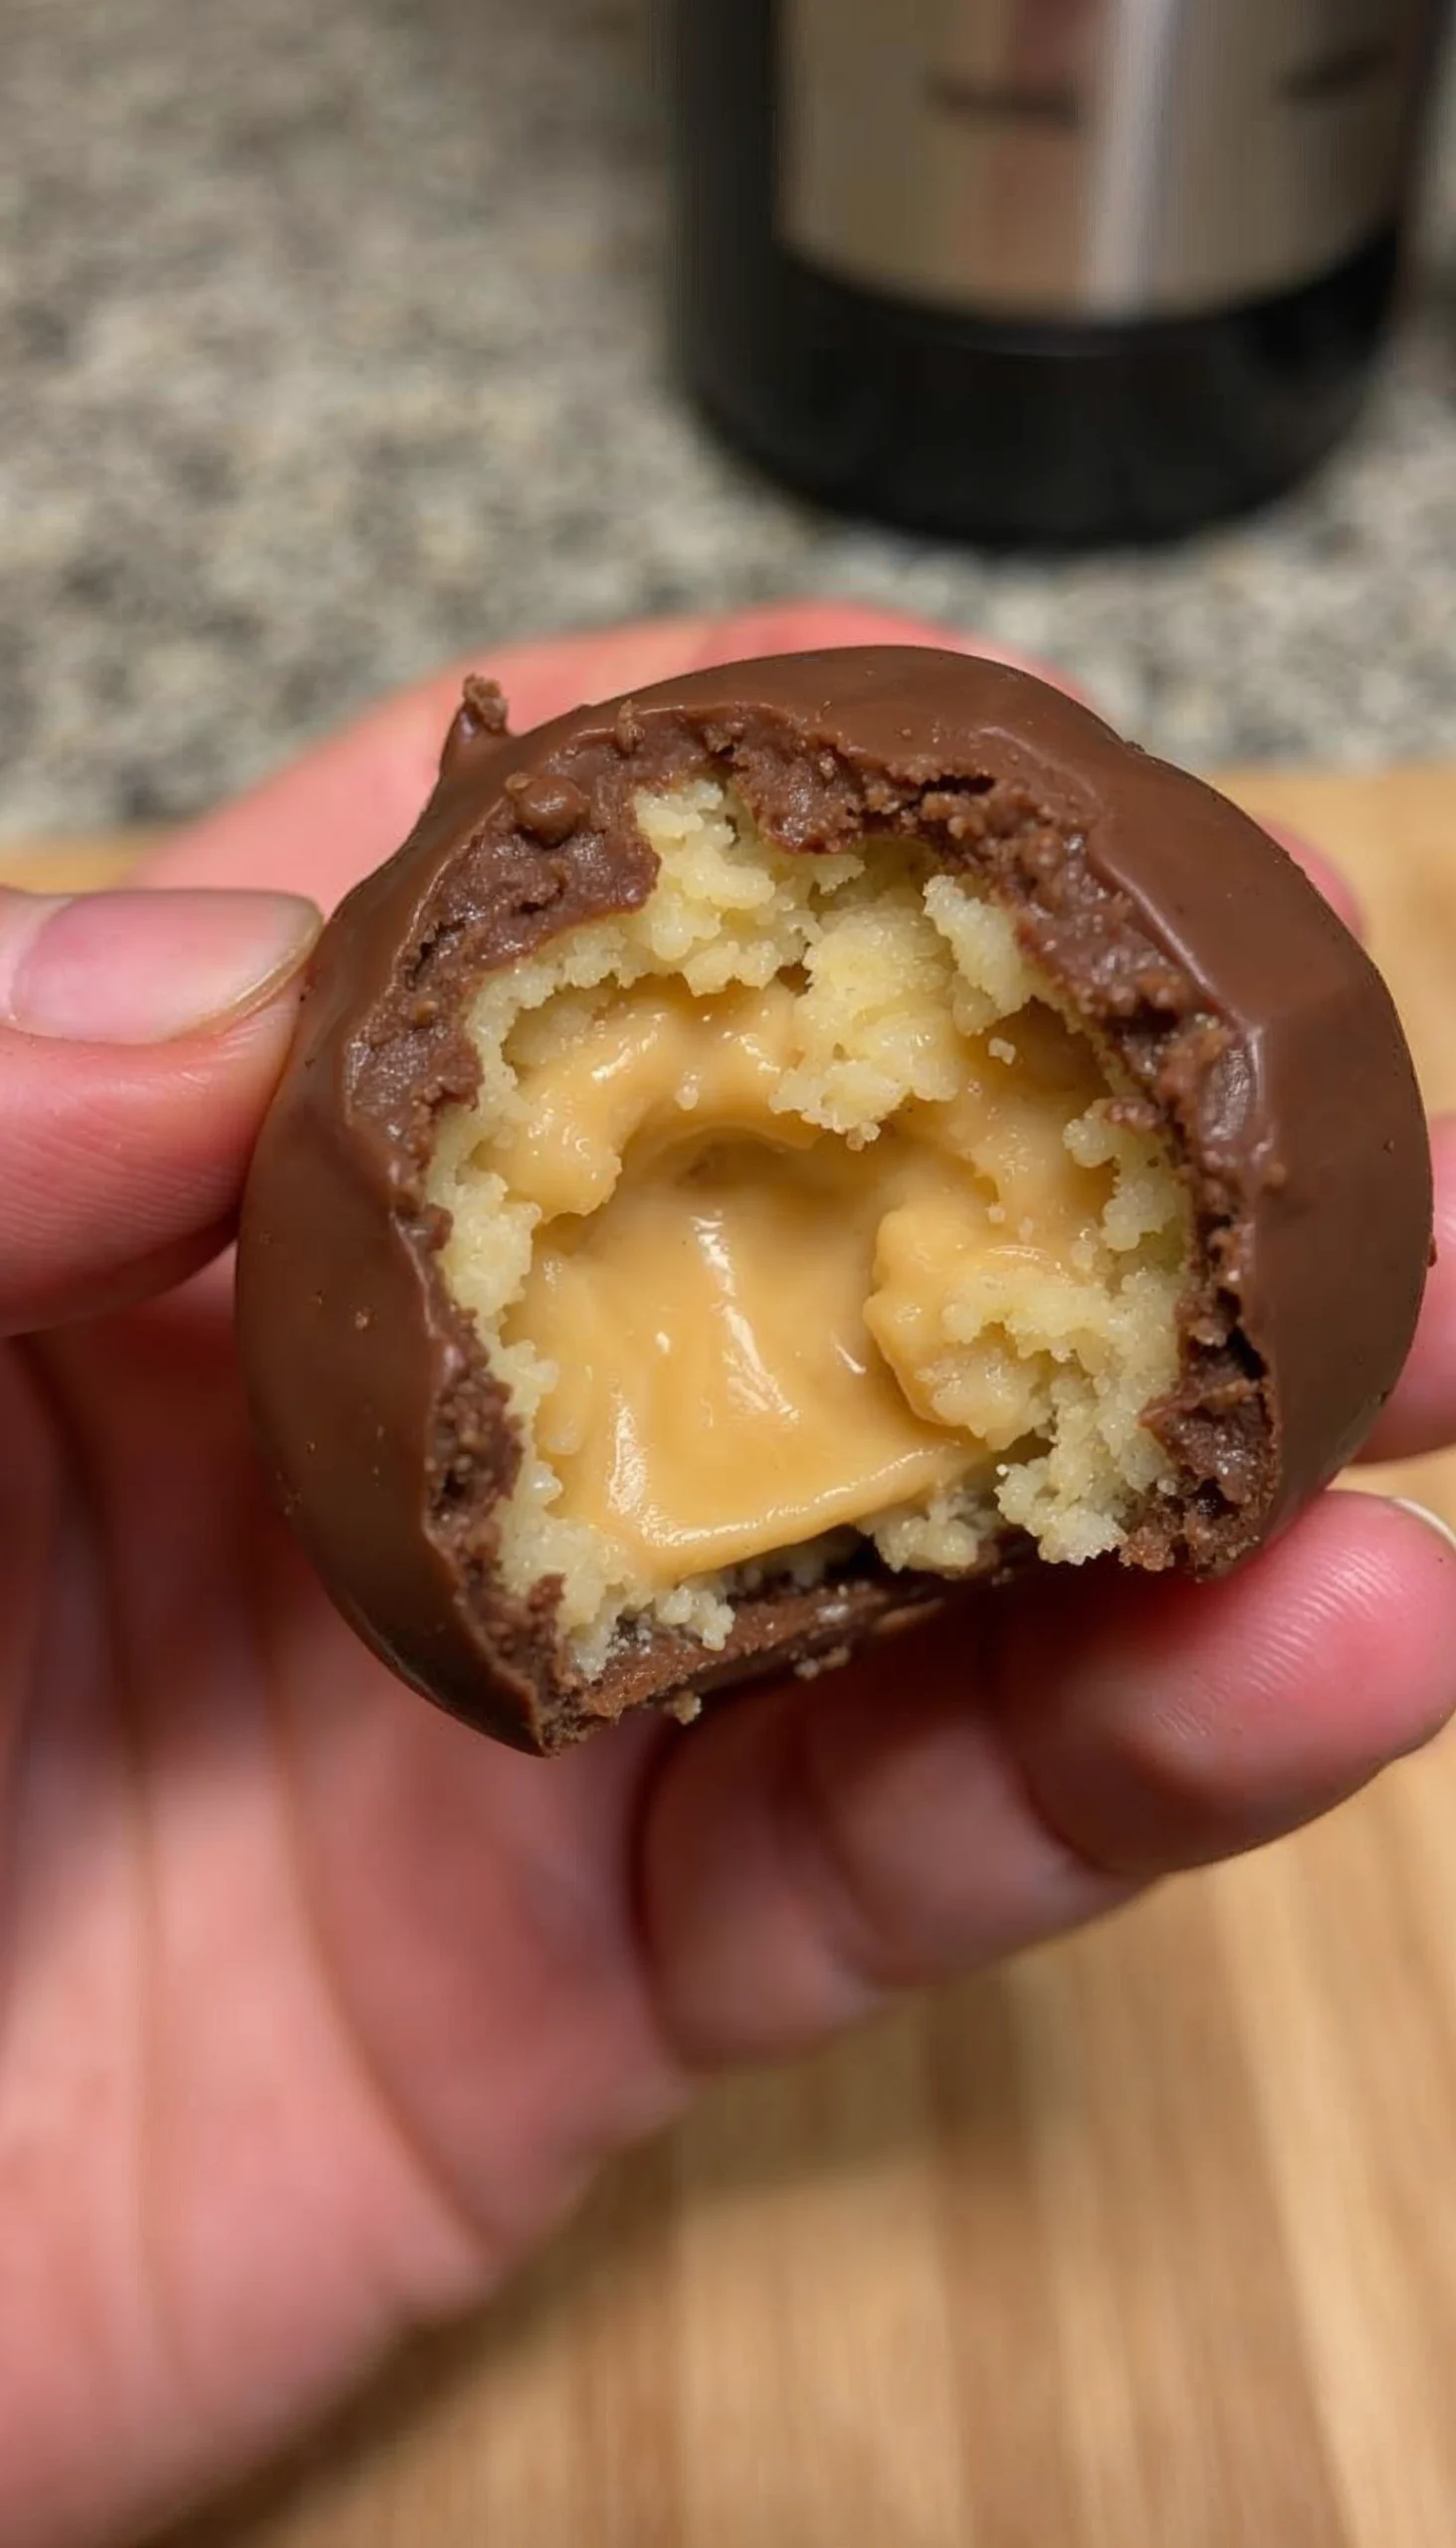
Let’s be real—chocolate and peanut butter are a match made in dessert heaven. Butterfinger Balls take this classic duo to the next level by combining the crunchy, peanut buttery goodness of Butterfinger bars with a rich chocolate coating. Every bite is a perfect balance of sweet, salty, and crunchy.
No-Bake and Easy to Make
One of the best things about Butterfinger Balls is how simple they are to make. No oven, no fuss—just mix, roll, and coat. Even if you’re not a confident baker, you can master this recipe in no time. Plus, it’s a fun activity to do with kids or friends. For another quick and easy no-bake peanut butter treat, check out No-Bake Peanut Butter Oat Bars.
Perfect for Parties, Gifts, or a Sweet Snack
Butterfinger Balls are incredibly versatile. They’re a hit at parties, make thoughtful homemade gifts, and are the perfect sweet snack to have on hand. Plus, they’re bite-sized, which means you can enjoy just one (or five) without feeling guilty.
Ingredients You’ll Need for Butterfinger Balls
The beauty of Butterfinger Balls is that they don’t require a long list of ingredients. In fact, you probably already have most of these items in your pantry or fridge. Here’s what you’ll need to make these irresistible treats:
The Key Ingredient: Butterfinger Candy Bars
Let’s start with the star of the show—Butterfinger bars. You’ll need about 8-10 full-sized bars (or 2 cups of crushed Butterfinger pieces). These bars bring that iconic crunchy, peanut buttery flavor that makes these balls so addictive. If you can’t find Butterfinger bars, don’t worry—I’ll share some alternatives later.
Pantry Staples You Probably Already Have
Here’s where things get easy. The rest of the ingredients are basic staples that you likely already have on hand:
- Creamy peanut butter: This binds everything together and adds that rich, nutty flavor.
- Powdered sugar: It sweetens the mixture and helps it hold its shape.
- Vanilla extract: Just a splash enhances the overall flavor.
- Chocolate chips: For the coating! You can use semi-sweet, milk, or dark chocolate—whatever you prefer.
- Butter: A little bit helps make the mixture smooth and easy to work with.
Optional Add-Ins for Extra Flavor
Want to take your Butterfinger Balls to the next level? Try these fun mix-ins:
- Crushed pretzels: Add a salty-sweet twist for extra crunch. For inspiration, check out Chocolate-Covered Pretzels.
- Mini chocolate chips: Fold them into the mixture for a double chocolate hit.
- Sea salt: Sprinkle a little on top of the chocolate coating for a gourmet touch.
- White chocolate: Use it instead of regular chocolate for a different flavor profile. Learn how to experiment with white chocolate in Simple White Chocolate Bark.
Step-by-Step Guide to Making Butterfinger Balls
Alright, let’s get to the fun part—making these delicious Butterfinger Balls! Don’t worry, I’ll guide you through every step, and before you know it, you’ll have a batch of these irresistible treats ready to enjoy. Ready? Let’s do this!
1: Crush the Butterfinger Bars
- Unwrap the bars: Start by unwrapping your Butterfinger bars. You’ll need about 8-10 full-sized bars (or 2 cups of crushed pieces).
- Crush them: Place the bars in a zip-top bag and use a rolling pin to crush them into small pieces. You can also use a food processor for a finer texture, but I like leaving some chunks for extra crunch.
2: Mix the Ingredients
- Combine the dry ingredients: In a large bowl, mix the crushed Butterfinger pieces, 1 cup of creamy peanut butter, 1 1/2 cups of powdered sugar, and 1 teaspoon of vanilla extract.
- Add the butter: Melt 2 tablespoons of butter and mix it into the bowl. The butter helps bind everything together and makes the mixture easier to roll.
- Mix until combined: Use a spatula or your hands to mix everything until it’s well combined. The mixture should be thick and slightly sticky.
3: Roll into Balls
- Scoop the mixture: Use a tablespoon or a small cookie scoop to portion out the mixture.
- Roll into balls: Roll each portion between your palms to form smooth, even balls. If the mixture is too sticky, you can lightly dust your hands with powdered sugar.
- Chill the balls: Place the balls on a baking sheet lined with parchment paper and pop them in the fridge for about 30 minutes. Chilling helps them firm up and makes the next step easier.
4: Coat with Chocolate
- Melt the chocolate: In a microwave-safe bowl, melt 2 cups of chocolate chips in 30-second intervals, stirring in between, until smooth. You can also use a double boiler if you prefer.
- Dip the balls: Use a fork or a dipping tool to coat each ball in melted chocolate. Let the excess drip off, then place them back on the parchment paper.
- Add toppings (optional): If you’re using crushed pretzels, sea salt, or sprinkles, add them while the chocolate is still wet.
5: Chill and Serve
- Let the chocolate set: Place the coated balls back in the fridge for about 15-20 minutes to let the chocolate harden.
- Serve and enjoy: Once the chocolate is set, your Butterfinger Balls are ready to eat! Store them in an airtight container in the fridge until you’re ready to serve.
Tips for Perfect Butterfinger Balls Every Time
How to Crush Butterfinger Bars Without a Mess
- Use a zip-top bag: Place the bars in a sturdy bag and crush them with a rolling pin. This keeps the crumbs contained.
- Pulse in a food processor: If you want a finer texture, pulse the bars in a food processor. Just be careful not to over-process—you want some chunks for texture.
- Buy pre-crushed pieces: Some stores sell pre-crushed Butterfinger pieces, which can save you time and effort.
The Secret to Smooth Chocolate Coating
- Melt the chocolate slowly: Use 30-second intervals in the microwave or a double boiler to avoid burning the chocolate.
- Add a little oil: Stir in 1-2 teaspoons of coconut oil or vegetable oil to make the chocolate smoother and easier to work with.
- Use a fork or dipping tool: This helps you coat the balls evenly and lets the excess chocolate drip off.
Storing and Freezing Tips
- Store in the fridge: Keep them in an airtight container for up to 1 week.
- Freeze for later: Place the balls in a single layer on a baking sheet and freeze until solid. Then transfer them to a freezer-safe bag or container. They’ll keep for up to 2 months.
- Thaw before serving: Let them come to room temperature or thaw in the fridge before enjoying.
Creative Variations to Try
White Chocolate-Coated Butterfinger Balls
- Swap the chocolate: Use white chocolate chips instead of regular chocolate for the coating.
- Add a drizzle: Melt some dark chocolate and drizzle it over the white chocolate coating for a fancy finish.
- Perfect for holidays: The white chocolate makes these balls look festive, especially during the winter season.
Add Crushed Pretzels for a Salty-Sweet Twist
- Mix in pretzels: Fold 1/2 cup of crushed pretzels into the Butterfinger mixture for extra crunch.
- Use as a topping: Sprinkle crushed pretzels on top of the chocolate coating before it sets.
Use Different Candy Bars for a Unique Flavor
- Crunch bars: These have a similar texture and flavor to Butterfinger.
- Reese’s Pieces: Add a peanut buttery twist to your balls.
- Snickers: For a caramel and nutty flavor, use crushed Snickers bars.
Gluten-Free Butterfinger Balls
- Check your ingredients: Ensure your Butterfinger bars and other ingredients are gluten-free.
- Skip the pretzels: If you’re adding pretzels, use a gluten-free variety.
- Use gluten-free chocolate: Double-check that your chocolate chips are gluten-free.
Vegan-Friendly Version
- Use vegan Butterfinger bars: Some brands make vegan-friendly candy bars.
- Swap the butter: Use vegan butter or coconut oil.
- Choose dairy-free chocolate: Use vegan chocolate chips for the coating.
Mini Butterfinger Balls for Bite-Sized Fun
- Use a smaller scoop: A teaspoon-sized scoop will give you bite-sized balls.
- Adjust the coating: Dip the mini balls in chocolate and let them set on a parchment-lined tray.
- Perfect for parties: These little guys are great for dessert platters or party favors.
Serving Suggestions for Butterfinger Balls

Perfect for Holiday Dessert Platters
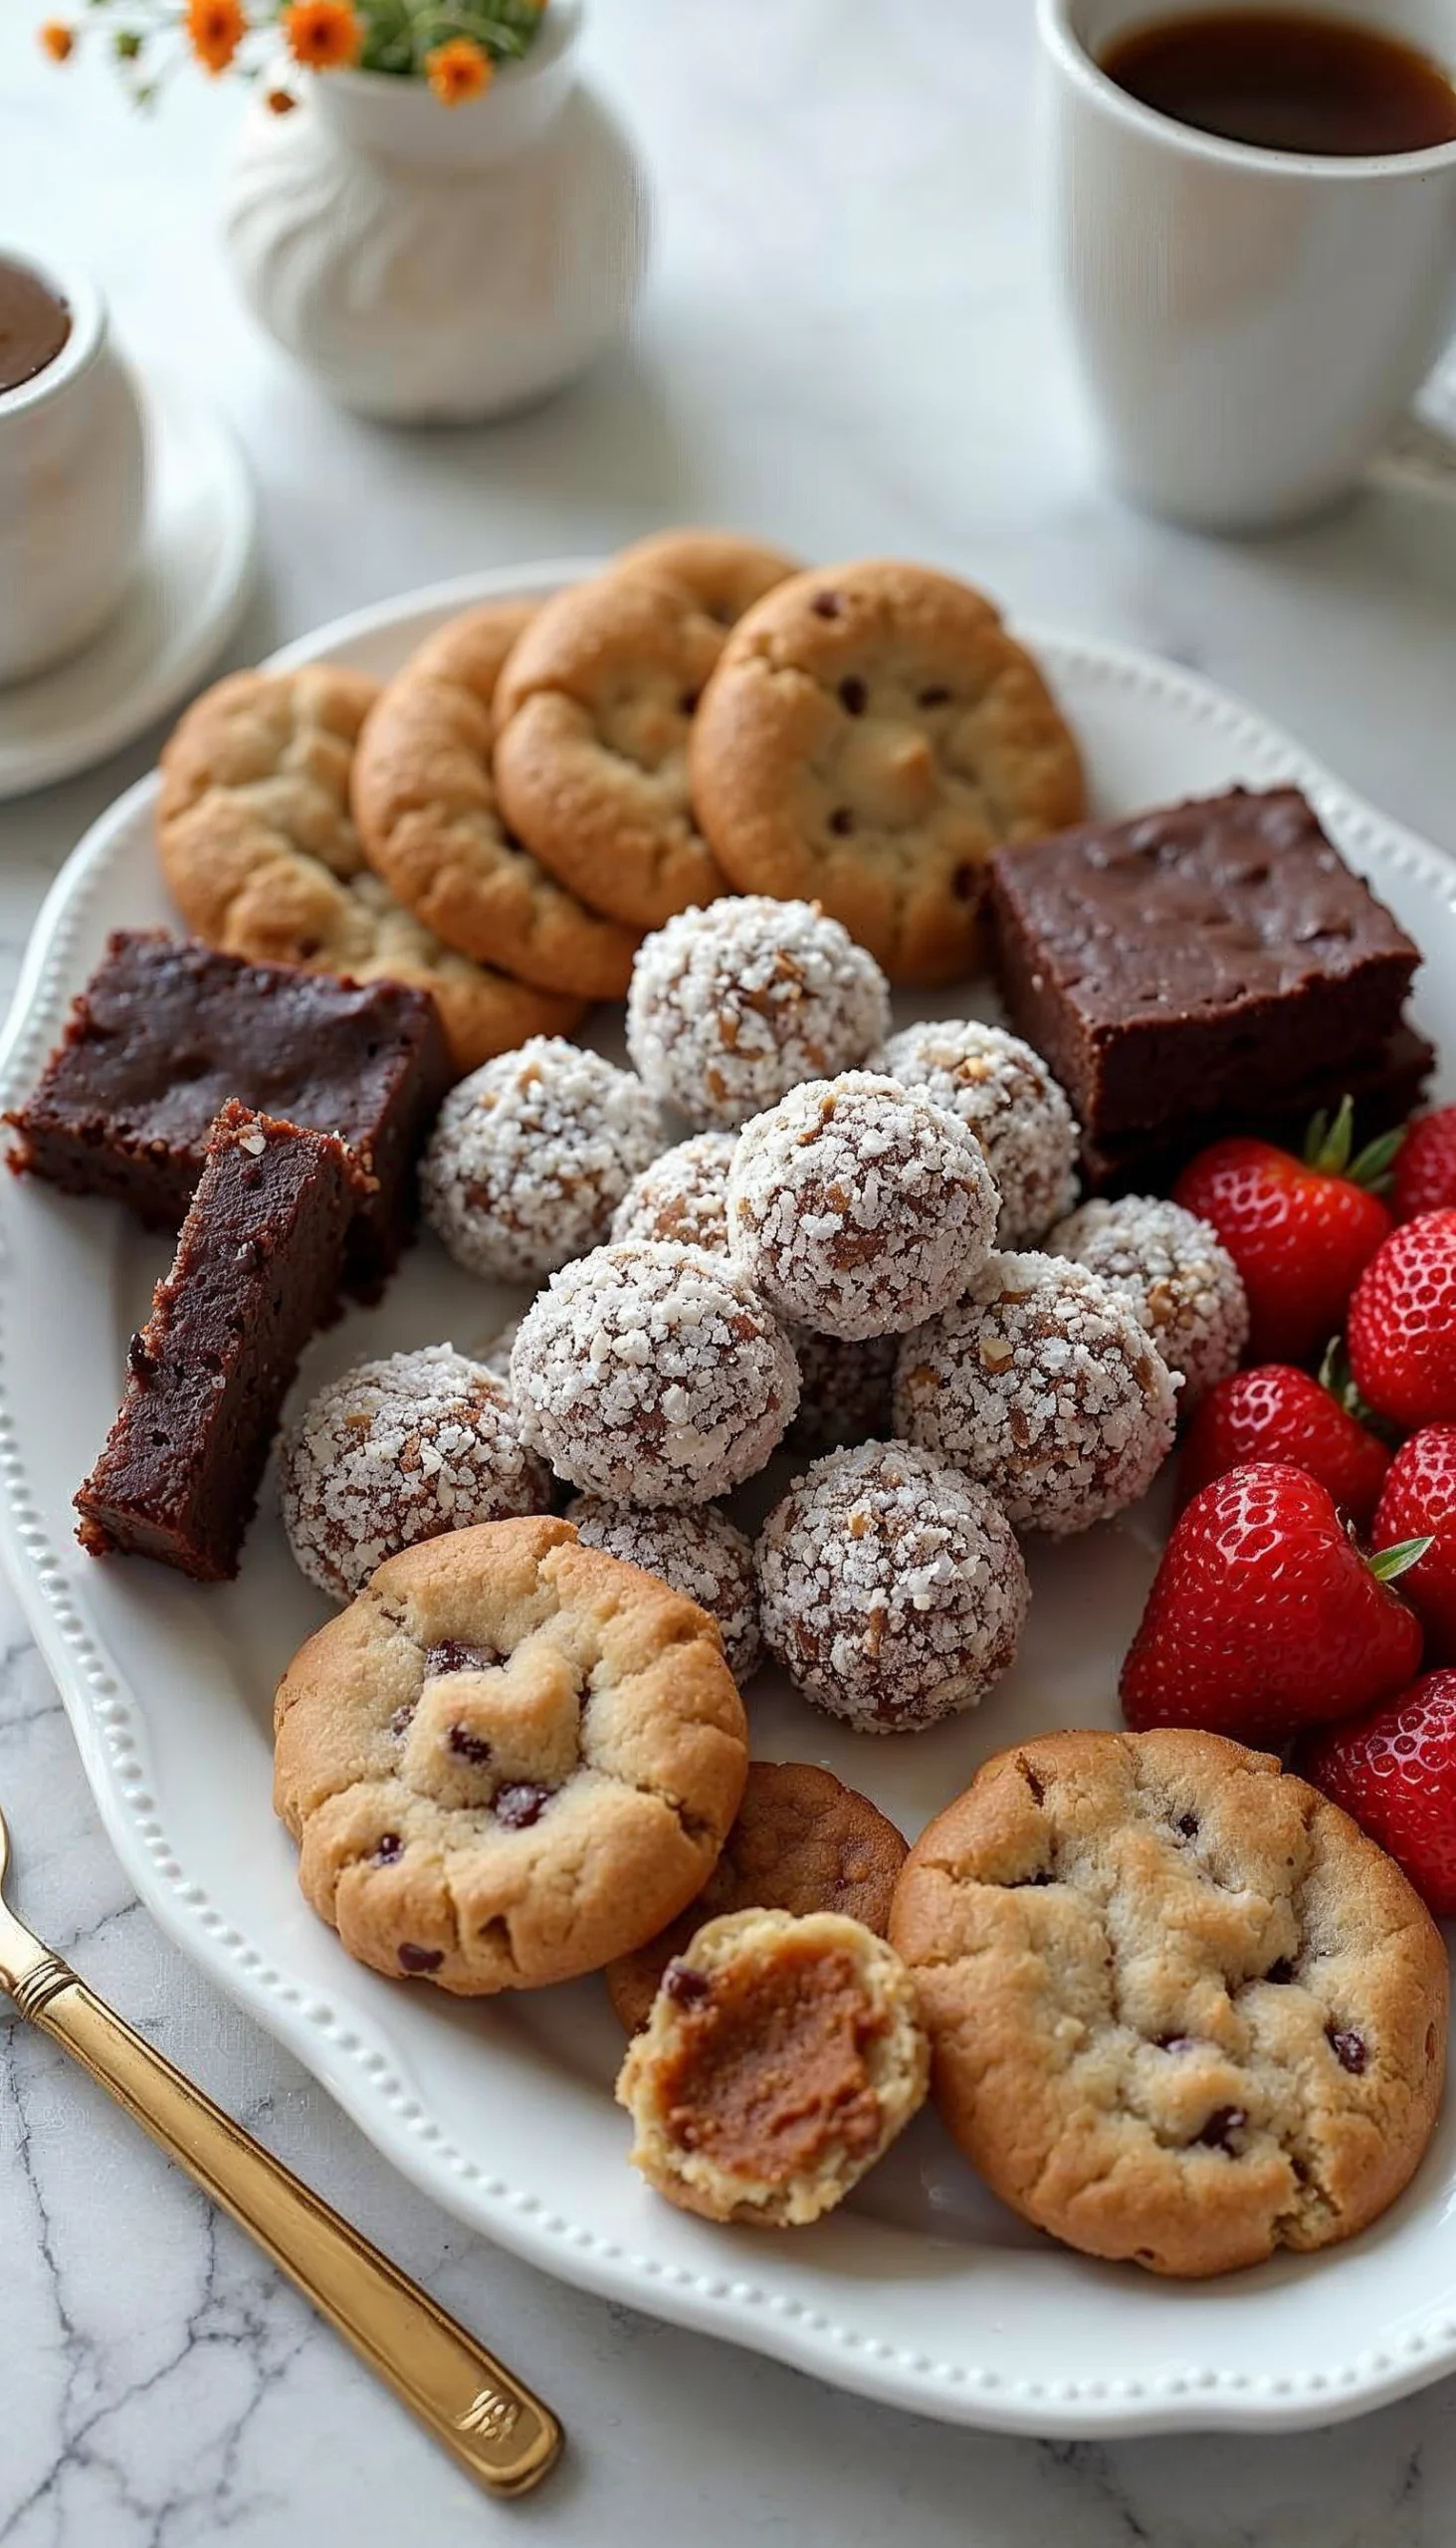
- Arrange on a tiered tray: Display them alongside other bite-sized treats like cookies and brownies.
- Add seasonal sprinkles: Use red and green sprinkles for Christmas or pastel colors for Easter.
- Pair with hot cocoa: Serve them with a warm cup of cocoa for a cozy holiday treat.
Package as Homemade Gifts
- Use cute packaging: Place the balls in a decorative tin, mason jar, or cellophane bag tied with a ribbon.
- Add a personal touch: Include a handwritten note or recipe card so the recipient can make their own. Butterfinger Balls make the perfect addition to Homemade Gift Ideas for Food Lovers.
- Create a gift basket: Pair the balls with other homemade treats, like cookies or fudge, for a sweet gift basket.
Serve with Coffee or Milk for a Sweet Treat
- Coffee: Enjoy them with a cup of coffee for a sweet pick-me-up.
- Milk: Dip them in a cold glass of milk for a classic combo.
- Dessert wine: Pair them with a sweet dessert wine for an elegant treat.
Add to a Dessert Charcuterie Board
- Arrange with other sweets: Include items like chocolate-covered strawberries, mini cupcakes, and marshmallows.
- Add fresh fruit: Balance the sweetness with fresh berries or sliced apples.
- Include dipping sauces: Offer caramel, chocolate, or peanut butter sauce for dipping. Learn how to create a show-stopping display with the Ultimate Dessert Charcuterie Board Guide.
Bring to Parties or Potlucks
- Display on a platter: Arrange them in a circular pattern for a visually appealing presentation.
- Add a sign: Label them with a cute sign or tag so everyone knows what they’re eating.
- Make them mini: Serve bite-sized versions for easy snacking.

FAQs About Butterfinger Balls
How long do Butterfingers stay good?
Unopened Butterfinger bars typically stay fresh for about 6-8 months when stored in a cool, dry place. Once opened, they’re best enjoyed within a few days. If you’re using them in Butterfinger Balls, the balls themselves can last up to 1 week in the fridge or 2 months in the freezer when stored properly.
What is a fun fact about Butterfingers?
Did you know that Butterfinger was first introduced in 1923? The name was chosen through a contest where contestants suggested names for the new candy bar. The winning entry, “Butterfinger,” was inspired by a slang term for someone who drops things easily. Fun fact: The candy bar was also famously featured in The Simpsons as Bart’s favorite treat!
What makes a Butterfinger crunchy?
The signature crunch of a Butterfinger comes from its layered, flaky texture. The center is made of a peanut butter-flavored crisp that’s layered and then coated in chocolate. This unique structure gives it that satisfying crunch you know and love.
Does Butterfinger have dairy?
Yes, Butterfinger bars contain dairy. The chocolate coating includes milk ingredients, so they’re not suitable for those with dairy allergies or following a vegan diet. However, you can make dairy-free Butterfinger Balls by using vegan chocolate and dairy-free Butterfinger alternatives.
Does Butterfingers have caramel?
No, Butterfinger bars do not contain caramel. The center is made of a peanut butter-flavored crisp, which gives it its unique texture and flavor. The combination of peanut butter and chocolate is what makes Butterfinger so iconic.
Can hard candy go bad?
Yes, hard candy can go bad, but it takes a long time. Hard candies like lollipops or peppermints can last for 1-2 years if stored in a cool, dry place. Over time, they may lose their flavor or become sticky, but they’re generally safe to eat as long as they’re stored properly and show no signs of mold or spoilage.
Print
Butterfinger Balls
- Total Time: 35 minutes
- Yield: 4 servings 1x
Description
Tender, juicy, and flavorful, this melt-in-your-mouth chicken recipe is a crowd-pleaser. Perfect for weeknight dinners or special occasions!
Ingredients
4 boneless, skinless chicken breasts
1 cup mayonnaise
1/2 cup grated Parmesan cheese
1 tsp garlic powder
1 tsp seasoning salt
1/2 tsp black pepper
1 cup breadcrumbs
Instructions
- Preheat oven to 375°F (190°C).
- In a bowl, mix mayonnaise, Parmesan cheese, garlic powder, seasoning salt, and black pepper.
- Coat chicken breasts evenly with the mixture.
- Roll chicken in breadcrumbs and place in a baking dish.
- Bake for 25-30 minutes or until chicken is cooked through.
- Serve warm and enjoy!
Notes
- For extra flavor, add a sprinkle of paprika or Italian herbs.
- Substitute breadcrumbs with crushed crackers for a different texture.
- Prep Time: 10 minutes
- Cook Time: 25 minutes
- Category: Dessert
- Method: Baking
- Cuisine: American
Nutrition
- Serving Size: 1 chicken breast
- Calories: 350
- Sugar: 2g
- Fat: 20g
- Carbohydrates: 10g
- Protein: 30g
- Cholesterol: 80mg
Keywords: melt in your mouth chicken, baked chicken recipe, easy chicken dinner
Why Butterfinger Balls Deserve a Spot in Your Recipe Box
Let’s face it—life can get busy, and sometimes you just need a little treat to make everything better. That’s where Butterfinger Balls come in. They’re easy to make, require no baking, and are packed with all the sweet, crunchy, peanut buttery goodness you love. Whether you’re enjoying them as a snack, serving them at a party, or gifting them to someone special, these bite-sized treats are guaranteed to be a hit.
The best part? You can make them your own. Add pretzels for a salty-sweet twist, coat them in white chocolate for a festive touch, or experiment with different candy bars for a unique flavor. The possibilities are endless, and the results are always delicious.
So, what are you waiting for? Grab those Butterfinger bars, roll up your sleeves, and get ready to make a batch of these irresistible treats. Trust me, once you try them, you’ll wonder why you didn’t start making Butterfinger Balls sooner. Happy snacking!
